Calibrate AcuRite rain gauge is a crucial step to ensure you receive accurate rainfall readings. Whether you’re a seasoned gardener or a beginner looking to optimize your watering schedule, accurate rainfall measurement is vital for healthy plant growth. This guide will walk you through the simple steps to calibrate your AcuRite rain gauge, so you can get precise data and improve your garden’s efficiency.
Why Calibration Matters: Understanding the Importance of Accuracy
Before diving into the calibration steps, it’s important to understand why accuracy matters when measuring rainfall. Without a properly calibrated rain gauge, your data may be off, leading to over-watering or under-watering your garden. Over-watering wastes water and can damage plants, while under-watering can lead to stunted growth.
Key Takeaways:
- Accurate measurements ensure plants receive the right amount of water.
- Proper calibration helps in water conservation, making gardening more sustainable.
- It allows you to monitor weather patterns effectively over time.
With that in mind, let’s get your AcuRite rain gauge calibrated and ready for action!
Step-by-Step Guide to Calibrate AcuRite Rain Gauge
1. Set Up Your AcuRite Rain Gauge
- Location: Place the rain gauge in an open area away from obstructions like trees or buildings to ensure accurate readings. It should be level and in a spot where rain can collect freely.
- Clean the Rain Gauge: Before you start, ensure your rain gauge is clean and free from debris. Dust or dirt inside the gauge could affect its readings.
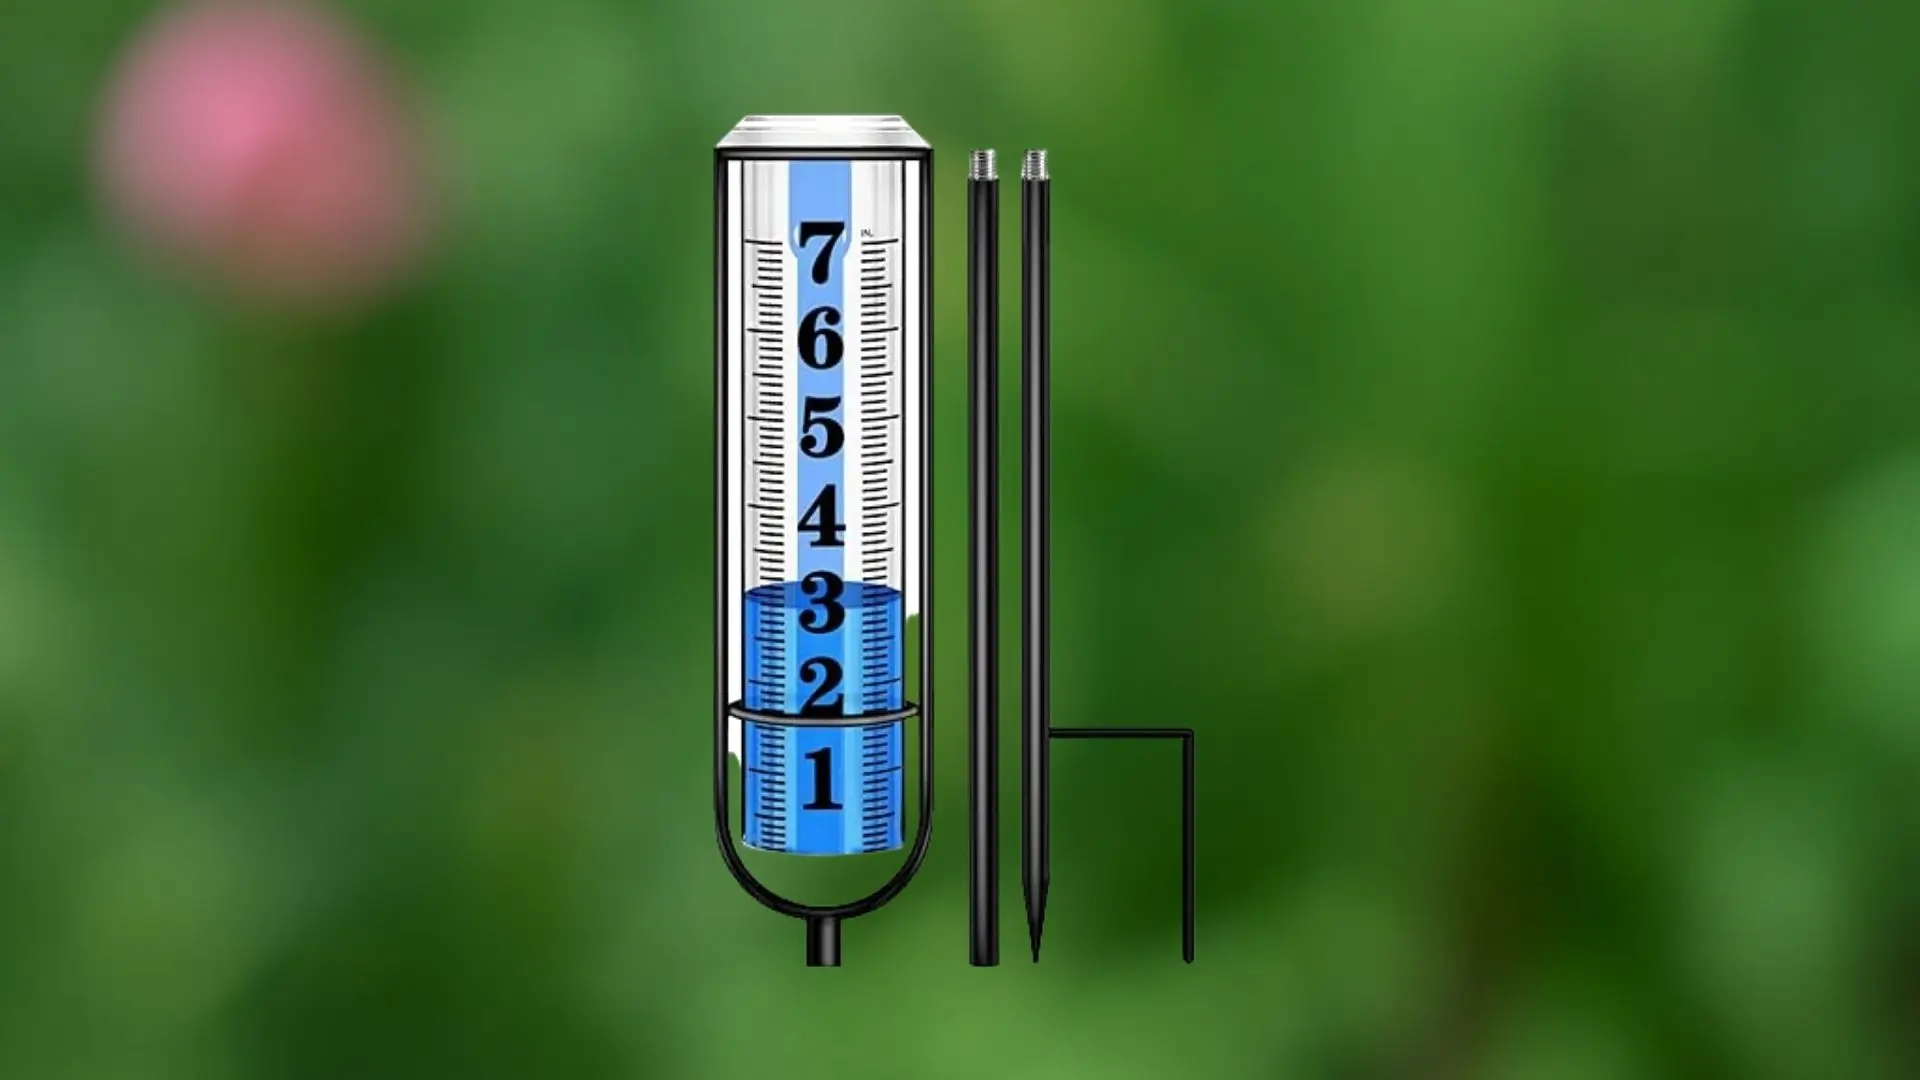
2. Fill the Gauge with Known Water Volume
- The easiest way to calibrate is to use a container with a known volume of water, like a measuring cup.
- Example: Fill your rain gauge with exactly 1 inch of water (or the equivalent of what your gauge measures). Make sure to keep the water level consistent with the “0” marking on the rain gauge.
3. Check the Measurement
- Look at the rain gauge’s reading. If it matches the amount of water you put in, it’s properly calibrated.
- If the readings are different, you’ll need to adjust the rain gauge.
4. Adjust the Gauge if Necessary
- If your readings are off, adjust the rain gauge’s settings or calibrate it according to the manufacturer’s instructions. Some models come with a small screw or mechanism to fine-tune the measurement.
- Consult the AcuRite manual for detailed instructions on how to fine-tune your specific model.
5. Test the Calibration
- Once calibrated, test the accuracy again. You can do this by repeating the process and checking that the readings are consistent.
- It’s a good idea to test the gauge after a rainfall as well. Compare the rain gauge’s reading to your local weather station’s data for a final confirmation.
Also Read it: Top 3 Best AcuRite Rain Gauge for Gardening in 2025
Tips for Maintaining Your AcuRite Rain Gauge for Long-Term Accuracy
- Regular Cleaning: Clean your rain gauge every few months to remove dirt, debris, or any calcium buildup from rainwater.
- Seasonal Checks: Before and after harsh weather conditions, check the calibration to ensure it’s still accurate.
- Store Properly: If you’re using a manual rain gauge, be sure to store it in a safe location during winter to prevent freezing or damage.
Why You Should Use an AcuRite Rain Gauge in Your Garden
AcuRite rain gauges offer more than just accurate readings—they’re easy to set up, durable, and come with a variety of features that make them ideal for gardeners. With the ability to track rainfall over time, you can optimize your watering schedule and make informed decisions about your garden’s water needs.
Conclusion: Take Control of Your Garden’s Watering Needs
Proper calibration ensures that your AcuRite rain gauge provides accurate data, allowing you to make informed decisions that benefit both your plants and the environment. By regularly calibrating your rain gauge and maintaining it properly, you ensure that your garden thrives while conserving water. Happy gardening!
1 thought on “How to Properly Calibrate AcuRite Rain Gauge”